Showing posts with label regency. Show all posts

Tuesday, April 16, 2019

A Handsewn Little White Regency Dress

I finished this dress and wore it to a ball!


I posted some of the progress here. After that post, it was just finishing up the hem and wearing it!

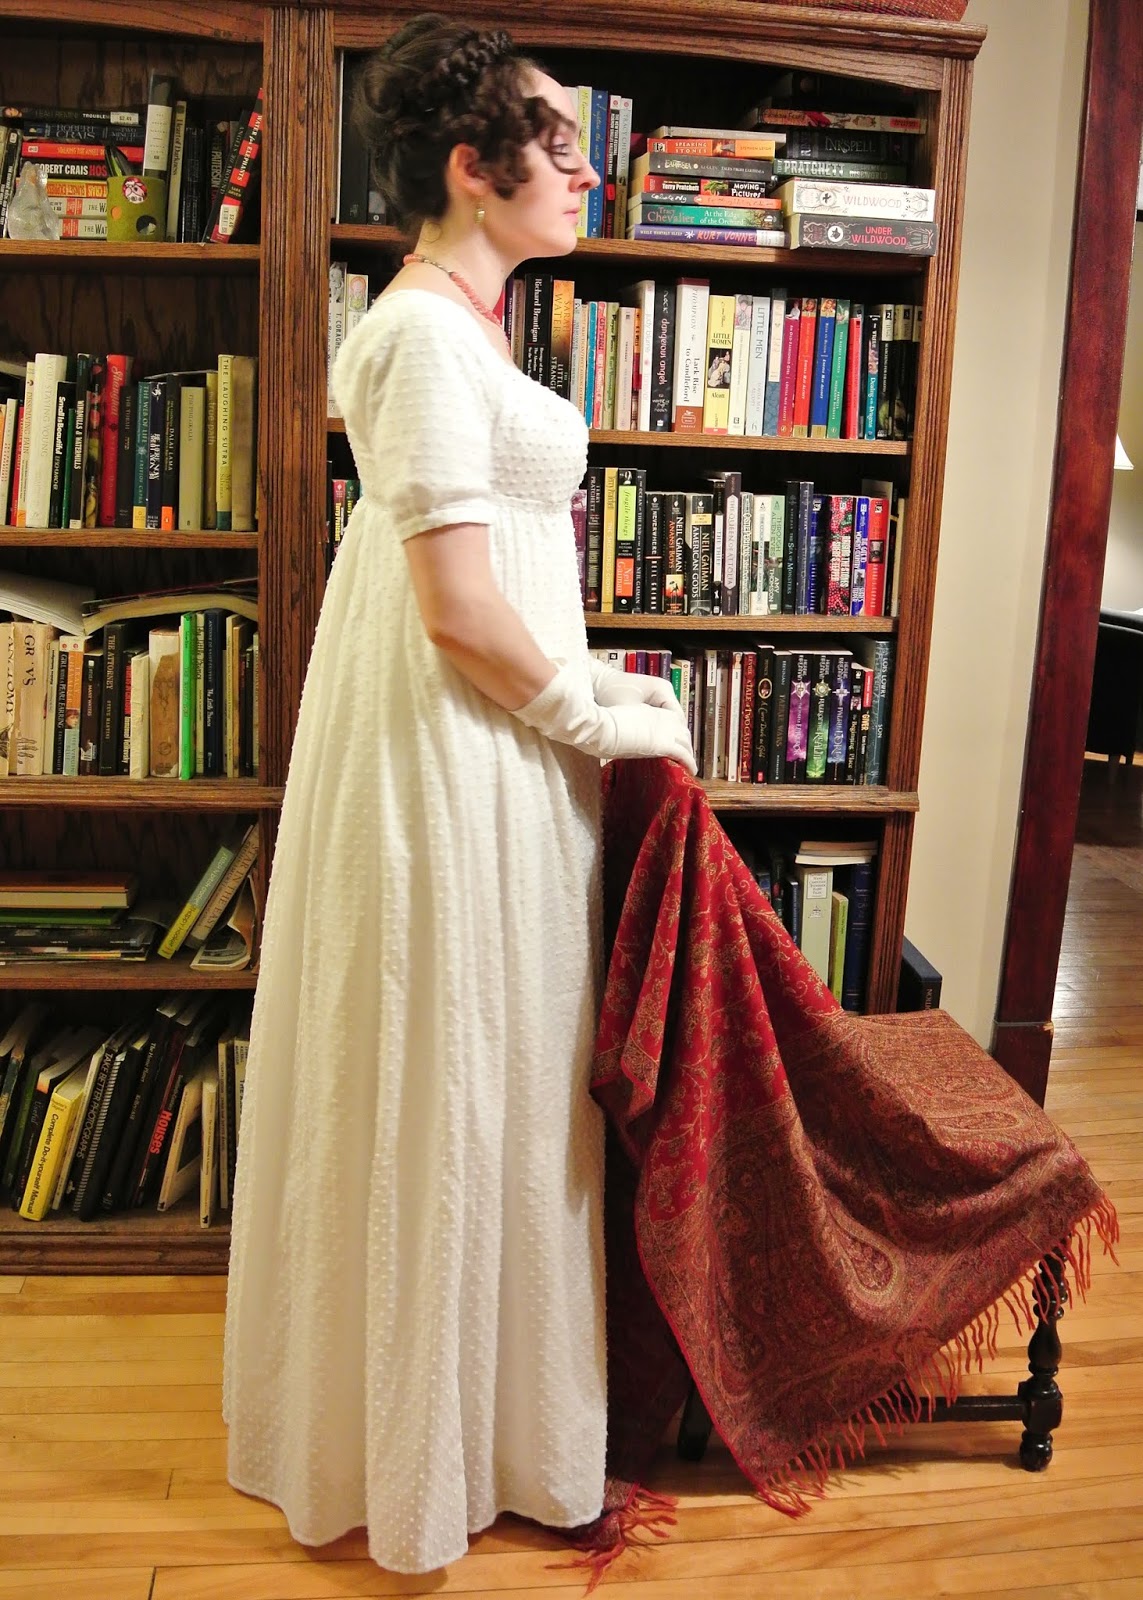
I didn't anticipate getting the best photos at the ball, so I took some afterward when I got home. Probably should have made time to do photos first because the light was bad and I was tired. Alas!

Yes, I realize I am in front of a bunch of Terry Pratchett novels, not the most period setting, but whatever, it's what I've got! If you squint it looks historic!


I wore this dress over a linen shift, my regency stays (from the Laughing Moon pattern), and a bodiced petticoat with tucks at the hem.

I accessorized with gold-tone earrings, a necklace of rose quartz beads, white cotton gloves, a red paisley shawl, and red flat shoes (just barely visible in the first picture).



Being dramatic. You can giggle; I did.


The hair was pretty simple. I mostly-followed this tutorial at The Fashionable Past and made this hairpiece.


I put my own hair into the simplest possible bun, then wrapped the hairpiece around.


I liked the hair okay, but my forehead felt pretty big and obvious. In retrospect I could've worn the braided hairpiece lower on my forehead, or made a few curled bangs in the middle.


A few details:

I used the pattern from Janet Arnold and handsewed this dress completely. It's white cotton dotted Swiss, with the bodice lined in linen. It is made in drop-front style and closes with pins.


The back (outside) with the ties visible.


The little pad at the inside back. The effect is subtle, but if you look at the standing profile view above you can see how it fills out the upper back skirt and prevents it from collapsing into the small of the back.


The drop-front. I did try to take some "how to get dressed in the drop-front dress" pictures but they came out a little immodest for sharing on the internet! So here is a rough idea on the hanger.

The linen flaps that pin across the CF underneath the drop-front.


One side of the drop-front "bib" pinned in place on the shoulder strap, lifting the other.


The drop-front "bib" lifted and pinned into place on both sides.


You can see a little more of the construction in my progress post.

Plus here are a couple from the ball! I ran up to the balcony to take a quick pic of one of the dances, while it was being taught.


My husband wore his wool late 18th c suit. I didn't bother making him a regency suit because I love this one on him (and I don't think regency would really suit him anyway). And late 18th century is close enough!!


And of course, the dessert table!


Final thoughts: I'm still not the biggest fan of wearing white, but I liked this dress. It was fun to make and wear, and the little white dress seems such a classic example of regency era fashion. I look forward to wearing it again.

Friday, January 11, 2019

UFO: Little White Dress Progress

Today's UFO January project is a little white regency dress I started way back in 2015.

I started out with a pattern from Janet Arnold's Patterns of Fashion and 4 yards of cotton dotted Swiss fabric. The design is a drop-front style, which was new to me. I love it because it's clever and I can do it up by myself.

My plan was to entirely hand-sew this!

20150312_132246

This project has hibernated for a while as I've picked it up and put it down again. For this year's UFO January, I really wanted to get it done. The only thing left to sew is the hem!

This is the first time I've tried the whole thing on! I pinned in the hem to check the length and I'm really liking the whole look!


Arm movement range is moderate. I think I could drive and eat!


I threw on a red shawl just for funsies. I'll need a jewelry plan (and some gloves!) to complete the look. And of course hem it!


 A few construction shots. White on white is hard to see! I gave the skirt seams a clean finish with a faux-French technique. First I sewed the seam with a combination running/backstitch, then I pressed the seam allowance edges in toward each other and whipped the folds together to enclose the raw edges.


The finished seam is about 1/4" wide.


At the top of each side I made a placket for a modest overlap.


I've started hemming it, and I'm about 1/4 of the way around. So close! 


I probably won't get a chance to put this on and take nice pictures until an event in April, but it will feel good to cross it off the list!